In the seventh part on the basics of Figma, you will master working with curves at an advanced level. And although you are already familiar with Boolean operations that allow you to create complex vector shapes, this is just the tip of the iceberg. With the Pen tool, you can recreate literally any shape.
Why should a designer know how to work with curves? It is especially useful when creating custom icons, which are an integral part of any interface. You don't necessarily have to create icons from scratch; it's enough to download a suitable template and adjust/fine-tune it manually for your task.
Secondly: drawing illustrations, where the same techniques apply, the only difference is that they are usually more complex and serve a different function compared to icons (drawing attention).
- Bézier Curves
- Types of Curves
- Pen Tool in Figma
- Creating Linear Curves from Start to Finish
- Editing Curves
- Move Tool. Moving Points
- Bend Tools. Controlling Curvature
- Paint Bucket Tool. Filling Closed Shapes
- Stroke Settings
- Corner Rounding
- Adding and Removing Points
- Converting Strokes to Curves
- Websites with Free Icons
- Exporting to SVG
- Homework
- Conclusions
Bezier Curves – are a mathematical tool for describing curves, which was used by Pierre Bezier in the 1960s for designing the body shapes of cars for the Renault company.
Over time, this discovery played a key role in design and computer graphics in both 2D and 3D directions. Shapes based on Bezier curves are called differently, depending on the program, but the essence remains unchanged. You may encounter terms such as spline and «paths».

All Bézier curves can be conditionally divided into several types depending on the number of points from which they are composed, which determines their complexity (see the image from top left to right):
- linear
- quadratic
- cubic
- higher order
Usually, cubic Bézier curve sequences are used in graphic applications to create any shapes. Having understood the theory, let's move on to the practical part.
To draw curves in Figma, there is a Pen tool (hotkey P). Interestingly, with its help, you can create any primitive (rectangle, circle, etc.). Moreover, all primitives can be quickly converted into curves. But let's start with linear curves, the feature of which is that the control points are not smoothed, and the final shape looks somewhat rough.
The sequence of actions to create a curve looks like this:
- Select Pen using the P key or by clicking on the pen icon in the toolbar.
- Click where you want to place the first point. Note that an additional panel has appeared above the tool at the bottom. This is how Figma indicates that you are in curve editing mode.
- Continue clicking on the workspace to create new points. As soon as we have two points, a line starts to appear between them.
- Hold down the Shift key to temporarily constrain the angle of the lines being created and make them multiples of 45 degrees. In practice, this allows you to easily draw perfect horizontal, vertical, and diagonal lines.
-
To specify the last point of the shape, there are several ways:
- Press the Enter key on the keyboard.
- Press Esc twice. The first press will finish creating the curve within the object. That is, you can continue clicking and create another line within the same layer. The second press of Esc will make Figma exit editing.
As you can see, our curve turned out to be clumsy. To smooth the line, instead of clicking during the creation process, you need to hold down the left mouse button and move it until you get the desired shape. Then release the left mouse button.
With this technique, you can draw smooth lines. At first, it may seem like a difficult task, but with practice, you will realize that it is quite convenient. Plus, you can always edit the vector shape, which will be explained below.
In addition, you can create closed shapes when the first and last points coincide. This will allow you to fill closed areas later.
As I mentioned earlier, with curves you can draw anything you want. I know that a circle is not the most complex shape possible, but it's a good exercise for beginners. Moreover, we need to practice constructing smooth and closed figures. To simplify the task, I drew a helper grid. The point is that when drawing a perfect circle, you need to mark points at equal distances and with identical degrees of smoothing. Let's get started.
Remember that you need to create points by holding down the left button and moving the cursor. You should only release the left button when you are satisfied with the curve of the line. Set aside at least 10 minutes to practice drawing smooth contours to get accustomed.
As with primitives, you can change the proportions of vector objects simply by selecting them and dragging any of the corners or sides. But the editing capabilities do not end here, you can:
- Add more lines
- Change or move points
- Adjust curvature
- Add fill to closed contours
To begin, you need to enter editing mode:
- Select the vector object. This can be not only a curve but also most primitives: rectangle, ellipse, line, etc.
Next, one of the options below:
- Press the Enter key
- Double-click on the vector object. No prior selection is needed here. This is probably the easiest way.
- Click the left square icon (Edit Object) at the top center.
After this, the toolbar will change. New buttons for working with spline editing tools will appear on the left.
Hotkey V. Allows you to select and move one or more points of a vector object with the mouse. The Shift key works here, just like when creating a new curve. You can also use the keyboard (arrow keys) to move points. This tool is activated by default when you enter edit mode.
First, we activate the Bend tool (which means to bend, already hinting at its purpose) by clicking on the icon of the rounded line with two dots (the first) on the additional tools panel. To control the smoothing of the line:
- Hover the cursor over any line between two points. An icon of a bent line will appear in the lower right corner of the cursor.
- Hold down the left mouse button and drag. The line will start to follow your movements, trying to adjust to the cursor's position. If the shape had uneven angles and looked awkward, guiding points will appear simultaneously, which determine the curvature.
- Release the left mouse button to fix the curvature.
To control smoothing through a curve point:
- Hover the cursor over any point on the curve. An icon with a point and two guides will appear in the lower right corner of the cursor.
- Press and hold the left mouse button and drag. Two symmetrical guides will extend from the point, and the lines on either side of the point will smooth out. To control only one guide, press the Alt key. To enable angle snapping (multiples of 45 degrees), press the Shift key.
- Release the left mouse button to lock the curvature.
Below are all the techniques mentioned above, including the use of the Shift and Alt keys:
To control the smoothing through control points:
- Hover the cursor over any control point of the curve. An icon with a point and two control handles will appear in the lower right corner of the cursor.
- By clicking the left mouse button, the control handle will be removed.
- Click the left mouse button and drag the cursor to change the angle of the control handle along with the opposite control handle, i.e., symmetrically. If you want to change the angle of only one control handle, hold down the Alt key. The Shift key also works here for snapping to angle.
It often happens that the guides are not visible, but by the shape of the line, it is clear that they are there. In such cases, you need to switch to the Move tool and select the desired point. The guides will appear, after which you need to go back to Bend mode.
Not the most convenient way to show guides. But there is a solution. Just keep working in Move mode to select points and show guides. And switch to Bend mode using the hotkey Ctrl or Command on MacOs. Note that you need to hold down the hotkey while using the tool, as you will immediately return to Move mode after releasing the key.
Let's see how this looks in practice. Note that we start in Bend mode, and only the guides of two points are visible. Then we switch to Move mode, select the necessary points and hold down Ctrl (Command on MacOs) to quickly adjust the guides of the points or the curvature of the lines:
Allows selective filling of closed contours of a vector shape. Fill settings are available in the Fill section and fully replicate the capabilities of standard primitives. Instructions for use:
- Select the tool by clicking on the drop icon or by pressing the hotkey B.
- Click inside the closed contour to fill the area. A plus will be added to the drop icon.
- Click again inside the filled contour to remove the fill.
It may seem, what is the advantage of this tool? After all, you can set the fill through the Fill section in the properties panel on the right. That's correct, but if you need to color not all outlines, but only some, then it's not so simple to do.
We are already familiar with some stroke settings from the first Figma lesson. Let's now explore the advanced options:
- The dropdown menus in the bottom left and right set the shape of the starting and ending points of the contour. Of course, if the contour is closed, we won't notice anything.
- By clicking the icon with three dots in the bottom right, you can access advanced settings. See the points below
- Stroke style — stroke style: Solid — solid, Dashed — dashed. When selecting the dashed style, additional parameters are added: Dash — dash length, Gap — gap length, Dash cap — dash shape.
- Join — point joining shape: Miter — automatically beveled if the angle is less than the value set by the Miter angle field, Bevel — constantly beveled, Round — rounded.
You can round the points of the curve in an alternative way:
- Go to edit mode.
- Select the necessary points.
- Specify the rounding degree in the Corner radius field on the properties panel on the right.
Please note that this rounding method does not affect the guide points and works only with the angles of contours. If you have set the curvature of lines using the Bend tool, rounding will not work.
As I mentioned above, you can add and remove points at any time. After entering edit mode, try the following for copying a point:
- Select the Move tool (key V).
- Hover the cursor over the point you want to copy.
- Hold down the Alt key. The cursor will change to a double arrow, as if indicating that it is ready to copy.
- Press and hold the left mouse button and drag the cursor. The new point will follow the cursor. Note that another line is formed, as the original point was connected to another line.
To add a point inside an existing line:
- Select the Pen tool (key P).
- Move the cursor to the middle of the line where we want to add a point. Figma will suggest the middle of the line. A plus sign will also appear next to the cursor in the bottom right corner.
- Click the left mouse button. The point has been added.
To delete a point:
- Select the Pen tool (key P).
- Hover the cursor over the point you want to delete.
- Hold down the Alt key. A minus sign will appear in the lower right corner of the cursor.
- Click the left mouse button. The point has been deleted.
- Another good option: if you select the point with the Move tool and delete it with the Delete key, Figma will not connect neighboring points and a separate path may form inside the layer. This method is ideal if you are deleting individual paths, for example, unnecessary elements of the uploaded icon, to simplify it.
You can add points outside of existing lines. In this case, the vector object will consist of several contours.
At certain stages of work, especially before exporting the icon in SVG format, it may be necessary to convert all strokes to outlines. That is, convert the stroke to closed paths with fill. This is required so that the icons display correctly in the browser. After this operation, you will no longer be able to adjust the stroke thickness or any of its other properties, except for color. Therefore, perform this operation as a last step. There are several ways to convert:
- Select the vector object and press Ctrl+Shift+O or Shift+Command+O on MacOs.
- Open the context menu by right-clicking on the desired vector object. Choose Outline stroke.
To ensure that the conversion was successful, it is enough to enter editing mode and see the new points and curves.
Now you know most of the techniques for working with curves. In the second lesson of working with Figma, you learned, how to import a file using drag and drop. At that time we used raster files, but with vector SVG files, everything happens the same way.
There are many websites with free SVG icons. They are convenient because they allow you to search by keywords. Here we cannot do without knowledge of the English language or Google Translate. And here is our list:
- The Noun Project — 3 000 000+ (yes, over 3 million) free icons with convenient search. Many ready-made sets on themes.
- Font Awesome — 1600+ free icons in one style with a categorizer.
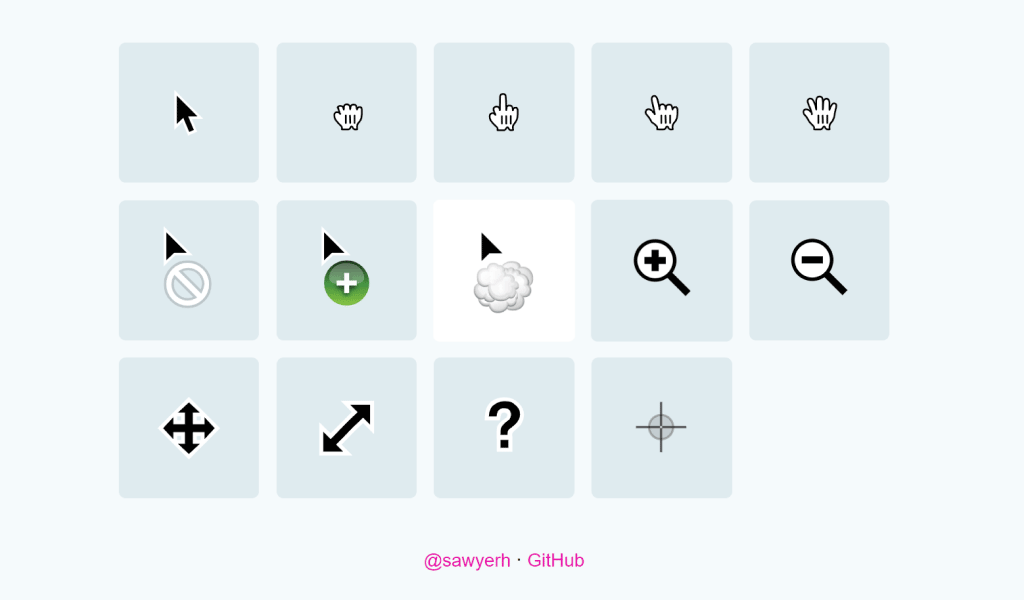
- Cursor.in — a tiny site with a collection of all MacOs cursors.
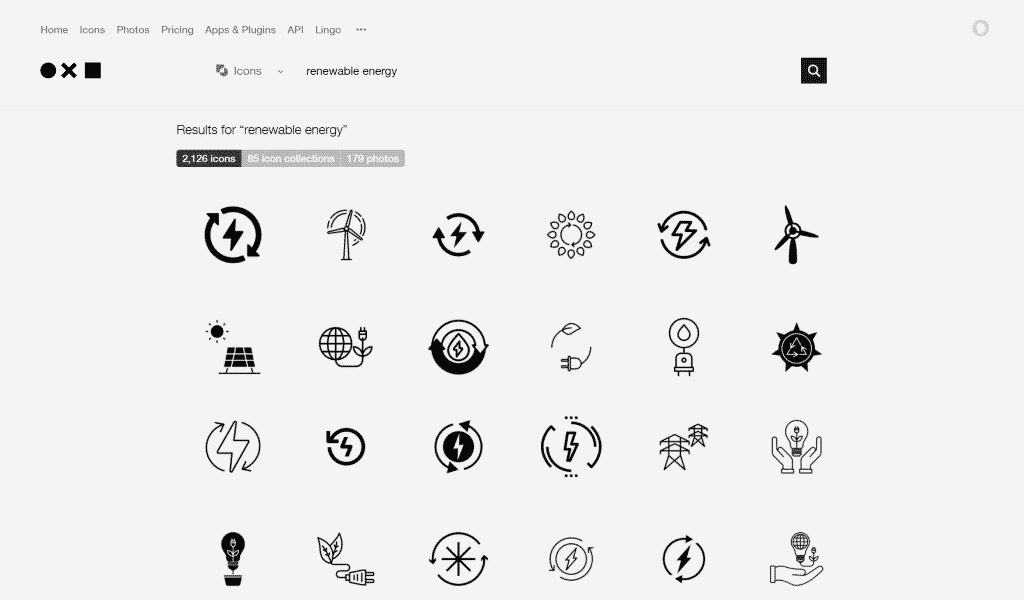

To download an icon from The Noun Project, use the search bar. For example, I entered the keyword energy and pressed Enter. A list of icons will load. Select the one you like. On the opened page, you need to click the Get this icon. button. Next, choose Basic Download, then Continue. Now click the SVG. button. The icon will be downloaded.
To export the icon to an SVG file, it needs to be prepared in advance:
- Create an empty frame and insert the object inside. There can be several. The dimensions of the frames for icons are usually multiples of 8 pixels. Suitable sizes include: 16x16, 24x24, 32x32, etc. If the icon does not fit, reduce its size.
- Center the icon within the frame. Ensure that the vertical and horizontal margins are even.
- Convert all strokes to paths.
- Recolor all elements to black. The thing is, developers may recolor the icons if necessary.
Now everything is ready. We just need to perform the export:
- Select the frame with the icon.
- In the right panel, click on the plus sign next to the Export section (it’s the last one).
- In the dropdown menu, change the format to SVG.
From now on, this course is designed for independent study and completing homework assignments. I understand that some tasks may be challenging for you.
For additional support, use the chat on Telegram. Here, you can ask questions related to the lessons or view examples of correct completion from other students.
The chat is not available for citizens of Russia.
Task 1. Redraw 8 icons from the image below (the theme is public catering, there are a total of 24 icons to choose from). Use all the tools you know, as well as the Pen, which we studied in this lesson.
Task 2 (advanced difficulty, optional). Choose 4 icons, simplify them (reduce the number of elements), and make the stroke thicker.
Task 3. Prepare all the drawn icons and export them in Svg format in two separate folders (light - from the first task, regular – for the thick icons from the second task). Make sure the icons have clear names. Place the two folders in a zip archive. Learn how to archive files independently if you do not know how.


In this lesson, you got acquainted with advanced techniques for working with curves. By combining this knowledge with Boolean operations, you can draw icons and illustrations of any complexity. But this is more the specialization of a graphic designer. It is important for us to learn how to edit icons and adjust them to the desired style.
I want to congratulate you on completing the course! If you had homework checks, please message me on Instagram so I can create a personal certificate of successful completion for you.